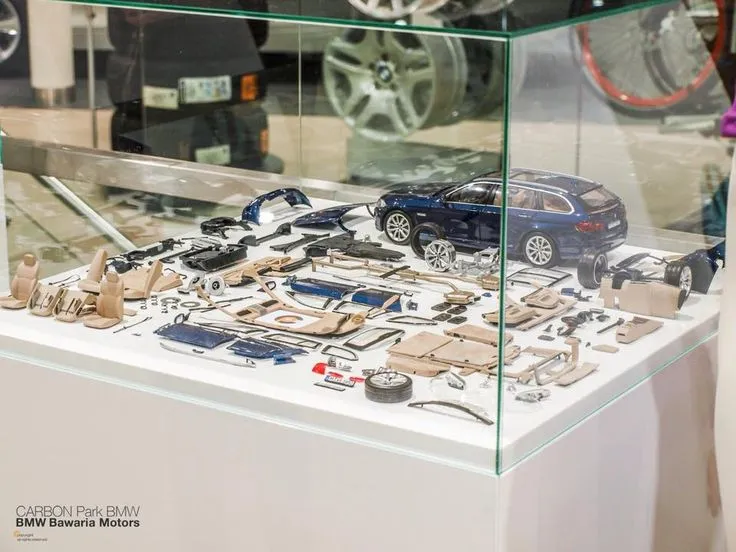
Choosing Your Diecast Diorama Scale
The scale of your diecast construction diorama is the foundation upon which your entire project rests. Choosing the right scale will impact everything from the size of your base to the availability of materials and diecast models. A well-chosen scale will allow you to create a cohesive and visually appealing scene, while an improperly selected one can lead to frustration and a final product that doesn’t quite capture the desired realism. Consider the space you have available, the level of detail you want to achieve, and the types of models you want to include when making your decision. Don’t rush this process; it sets the stage for everything that follows. Remember, a successful diorama starts with a thoughtful choice of scale, ensuring your miniature world is perfectly proportioned.
Understanding the Importance of Scale
Scale is more than just a number; it dictates the relationships between all the elements in your diorama. It affects the dimensions of buildings, the size of vehicles, and even the textures and details you’ll incorporate. A consistent scale is crucial for creating the illusion of reality. If your vehicles are too large or too small relative to the buildings and figures, the scene will appear disjointed and unrealistic. A well-executed scale choice ensures that everything fits together seamlessly, creating a believable and immersive miniature world. This consistency is key to drawing the viewer into your diorama and allowing them to suspend their disbelief, fully appreciating the artistry and detail you’ve invested in your creation. Without a strong understanding of the chosen scale, your diorama will likely appear amateurish and fail to capture the essence of the scene you’re trying to portray.
Popular Diecast Scales
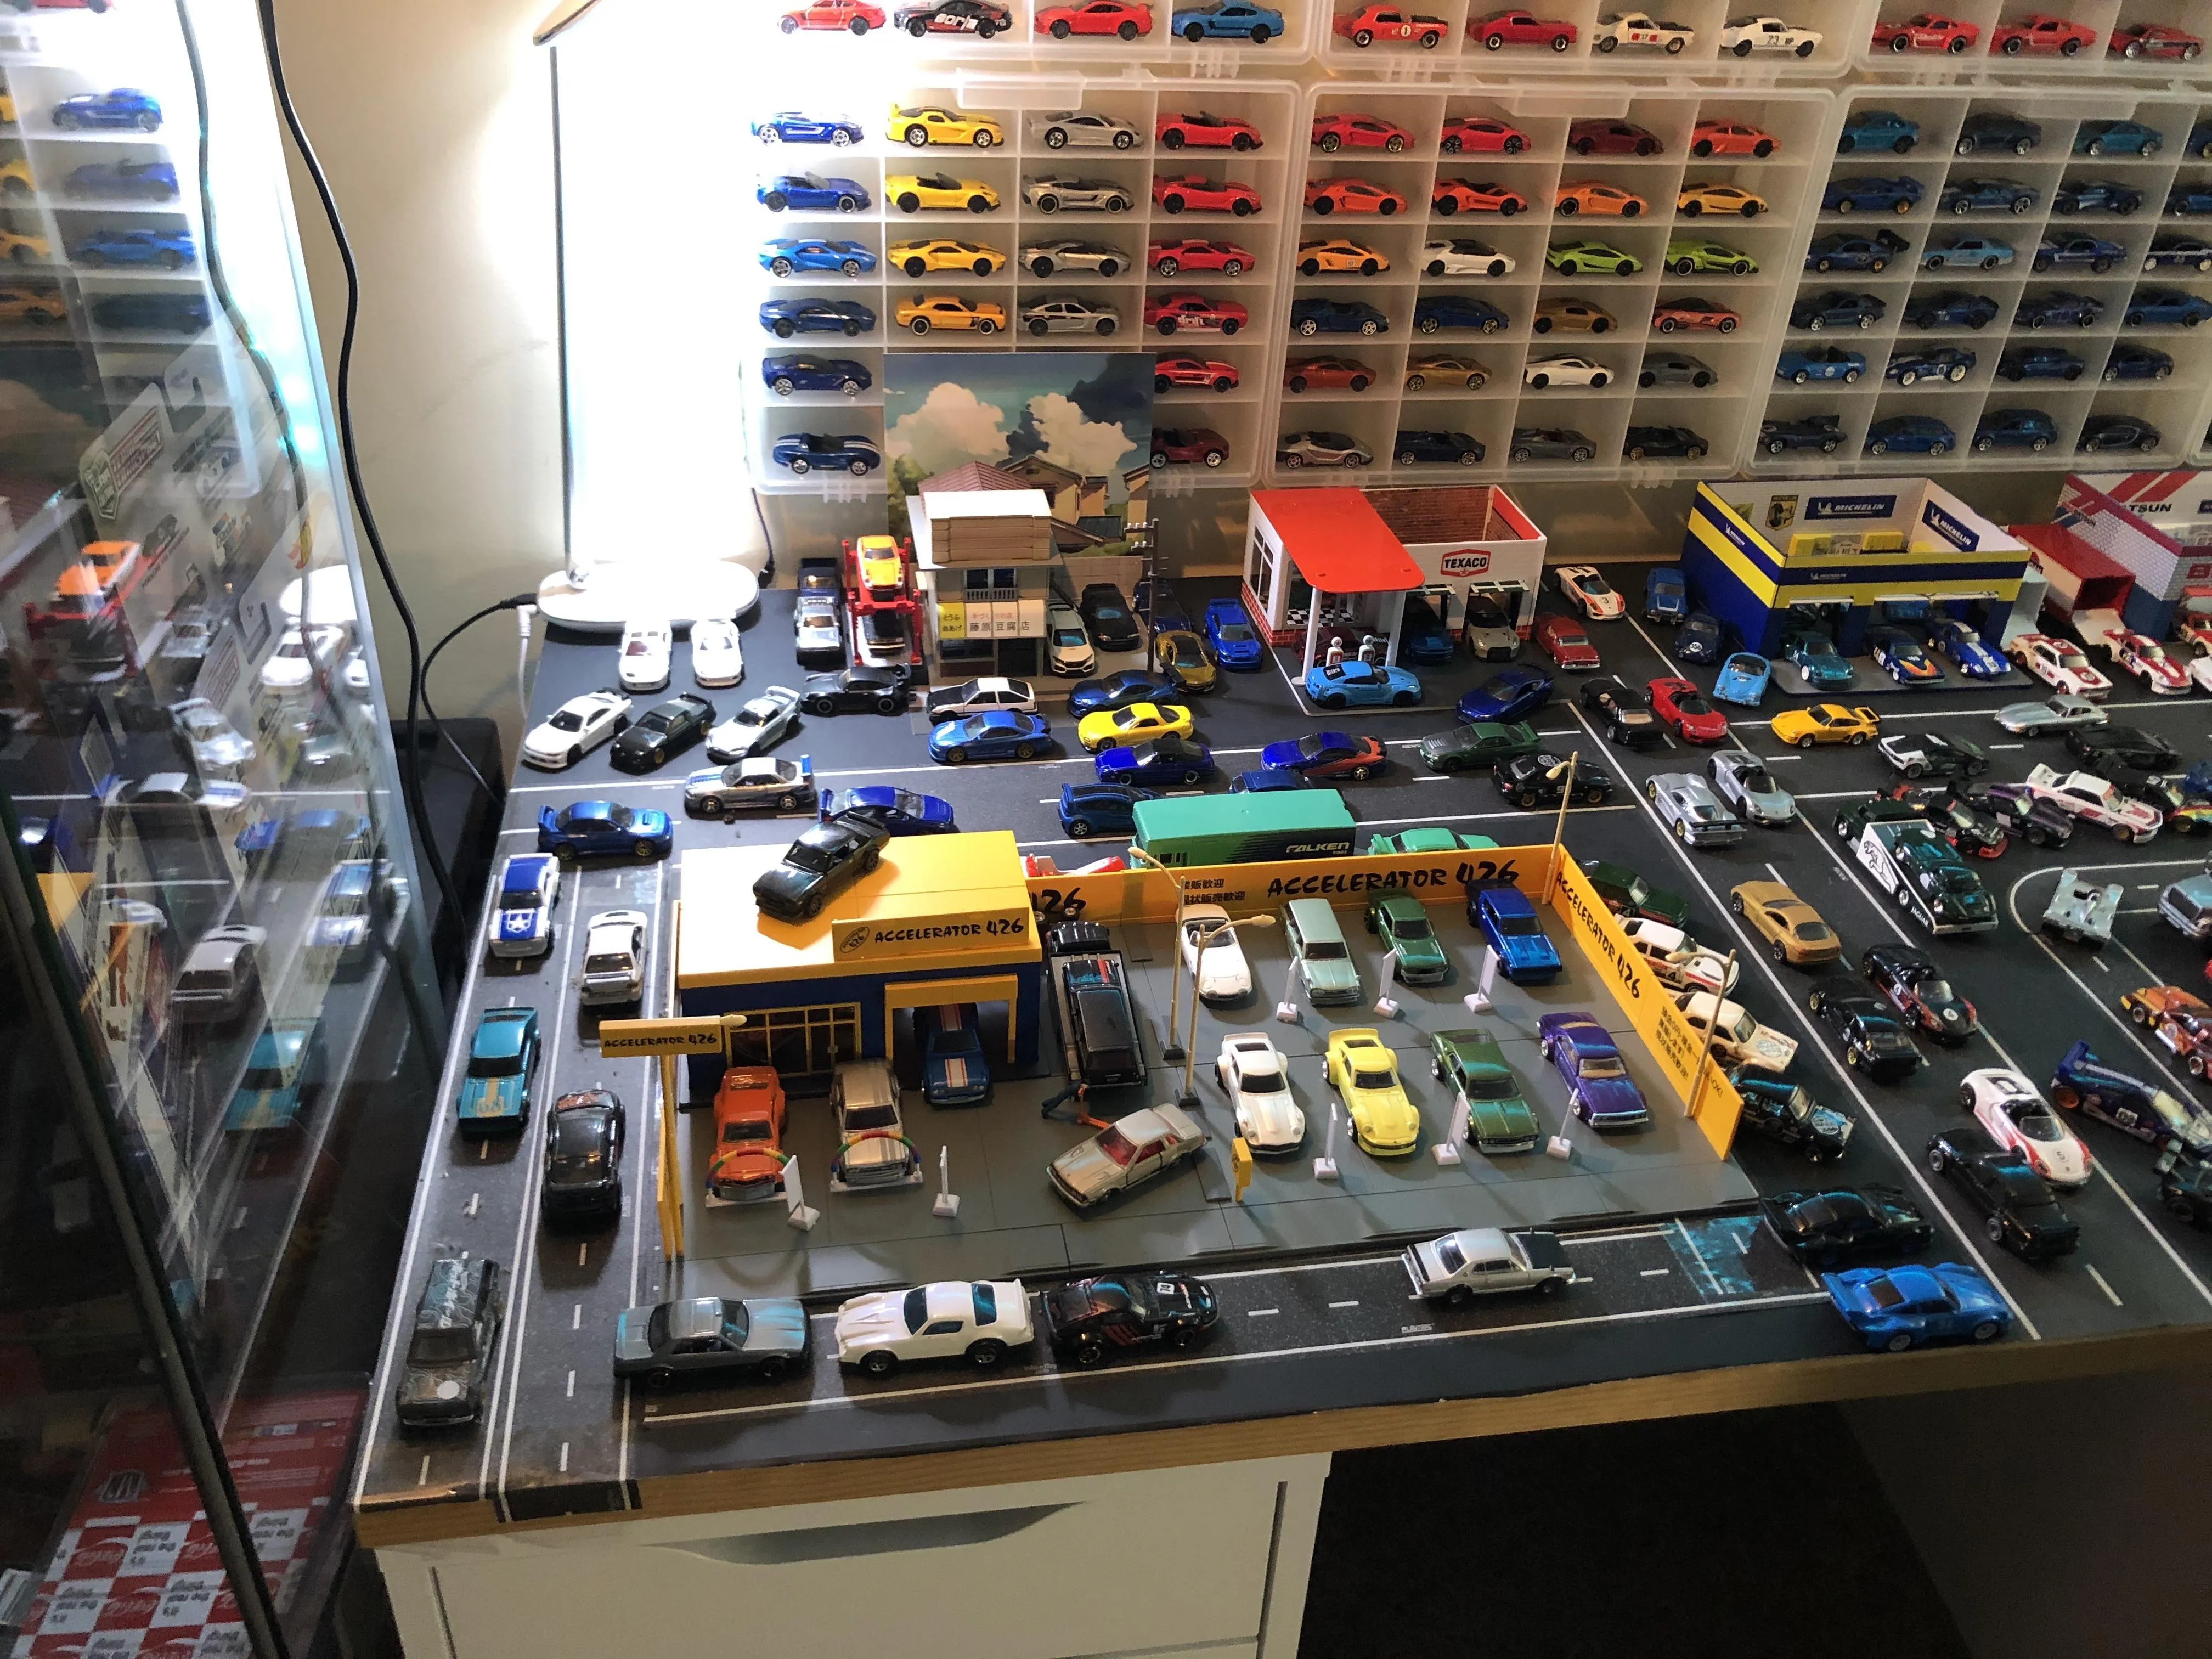
Several scales are popular in the diecast world, each with its own advantages. 1:18 scale is often favored for larger vehicles, offering great detail but requiring more space. 1:24 scale is a versatile option, providing a good balance between detail and size. 1:43 scale is widely popular and offers a vast selection of models and accessories, making it ideal for a variety of scenes. HO scale (1:87) is commonly used in model railways, but can also be adapted for dioramas, particularly those with a focus on railways or urban environments. Finally, 1:64 scale, often known as the ‘Matchbox’ or ‘Hot Wheels’ scale, is another popular and more affordable option, perfect for creating dynamic scenes without consuming too much space. The best scale for you depends on your preferences, the types of models you want to use, and the space you have available. Explore the options and choose the scale that best suits your vision and resources.
Gathering the Right Materials for Diecast Dioramas
Having the right materials is fundamental to the success of your diecast construction diorama. This involves more than just the diecast models themselves; it includes everything you need to build the base, scenery, and details that bring your scene to life. Careful selection of these materials will not only enhance the realism of your diorama but will also make the building process more enjoyable. Consider factors like durability, workability, and the desired aesthetic. The materials you choose will significantly impact the final look and feel of your diorama, transforming a collection of models into a captivating miniature world. Don’t underestimate the importance of quality materials; they can be the difference between a passable diorama and a truly impressive work of art.
Base Materials
The base of your diorama provides the foundation for everything else. Choose a material that is sturdy, flat, and resistant to warping. Common choices include plywood, MDF (medium-density fiberboard), and foam board. Plywood offers durability, while MDF provides a smooth surface for painting and detailing. Foam board is lightweight and easy to cut, making it ideal for beginners. Consider the size and weight of your diorama when selecting your base material, and choose something that can support it without bending or breaking. The base material serves as the platform for your creative vision, so selecting the right one is crucial to both the longevity and aesthetics of your diorama. Consider the size and weight of your diorama when selecting your base material, and choose something that can support it without bending or breaking.
Scenery Materials
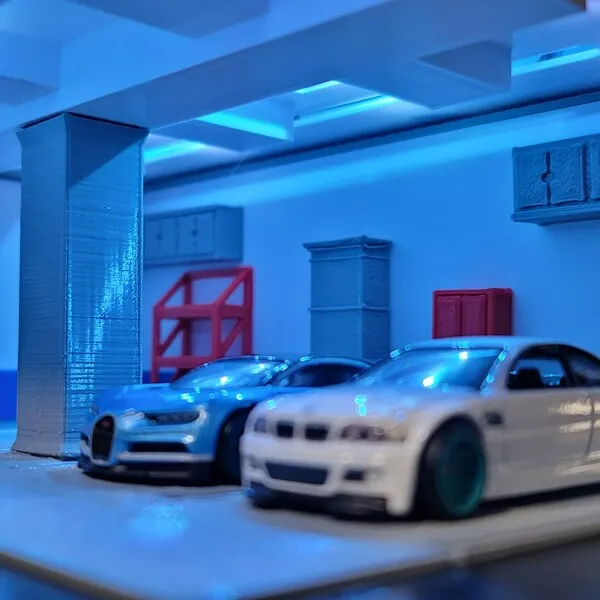
Scenery materials are what truly bring your diorama to life. These encompass a wide range of elements, from ground cover to building components, and vegetation. For ground cover, you can use materials like static grass, sand, gravel, and ballast to simulate different terrains. For buildings and structures, consider using materials like cardboard, foamcore, or pre-fabricated kits. For vegetation, choose from a selection of model trees, bushes, and foliage. The key is to select materials that are appropriate for the scale of your diorama and that create the desired visual effect. Experiment with different textures and colors to achieve the level of realism you desire. Don’t be afraid to mix and match materials to create a unique and compelling scene. Remember, the more realistic and detailed your scenery, the more engaging your diorama will be.
Tools of the Trade
Having the right tools makes the construction process significantly easier and more enjoyable. Essential tools include a sharp hobby knife or craft knife for cutting and shaping materials, a cutting mat to protect your work surface, and a ruler or straight edge for precise measurements. You’ll also need a variety of glues, such as wood glue, super glue (cyanoacrylate), and hot glue, depending on the materials you’re using. Paintbrushes, airbrush (optional but recommended for large areas), and paints are crucial for adding color and detail. Tweezers are handy for placing small details, and a variety of clamps can be useful for holding parts together while the glue dries. Don’t forget tools for weathering, such as weathering powders, washes, and brushes, to give your diorama a realistic, aged appearance. Invest in quality tools and you’ll find the construction process much more rewarding.
Creating a Realistic Base for Your Diorama
The base is more than just a platform; it’s the foundation upon which your entire diorama rests. It’s where you establish the terrain, create the sense of depth, and set the stage for the rest of your scene. A well-constructed base will enhance the realism of your diorama and make it more visually appealing. This process involves several steps, from preparing the base material to adding textures and ground cover, each of which contributes to the final effect. Take your time, pay attention to detail, and strive for a realistic and cohesive appearance. The base is the first thing viewers will see, so making it look great is essential to creating a successful diorama.
Base Preparation
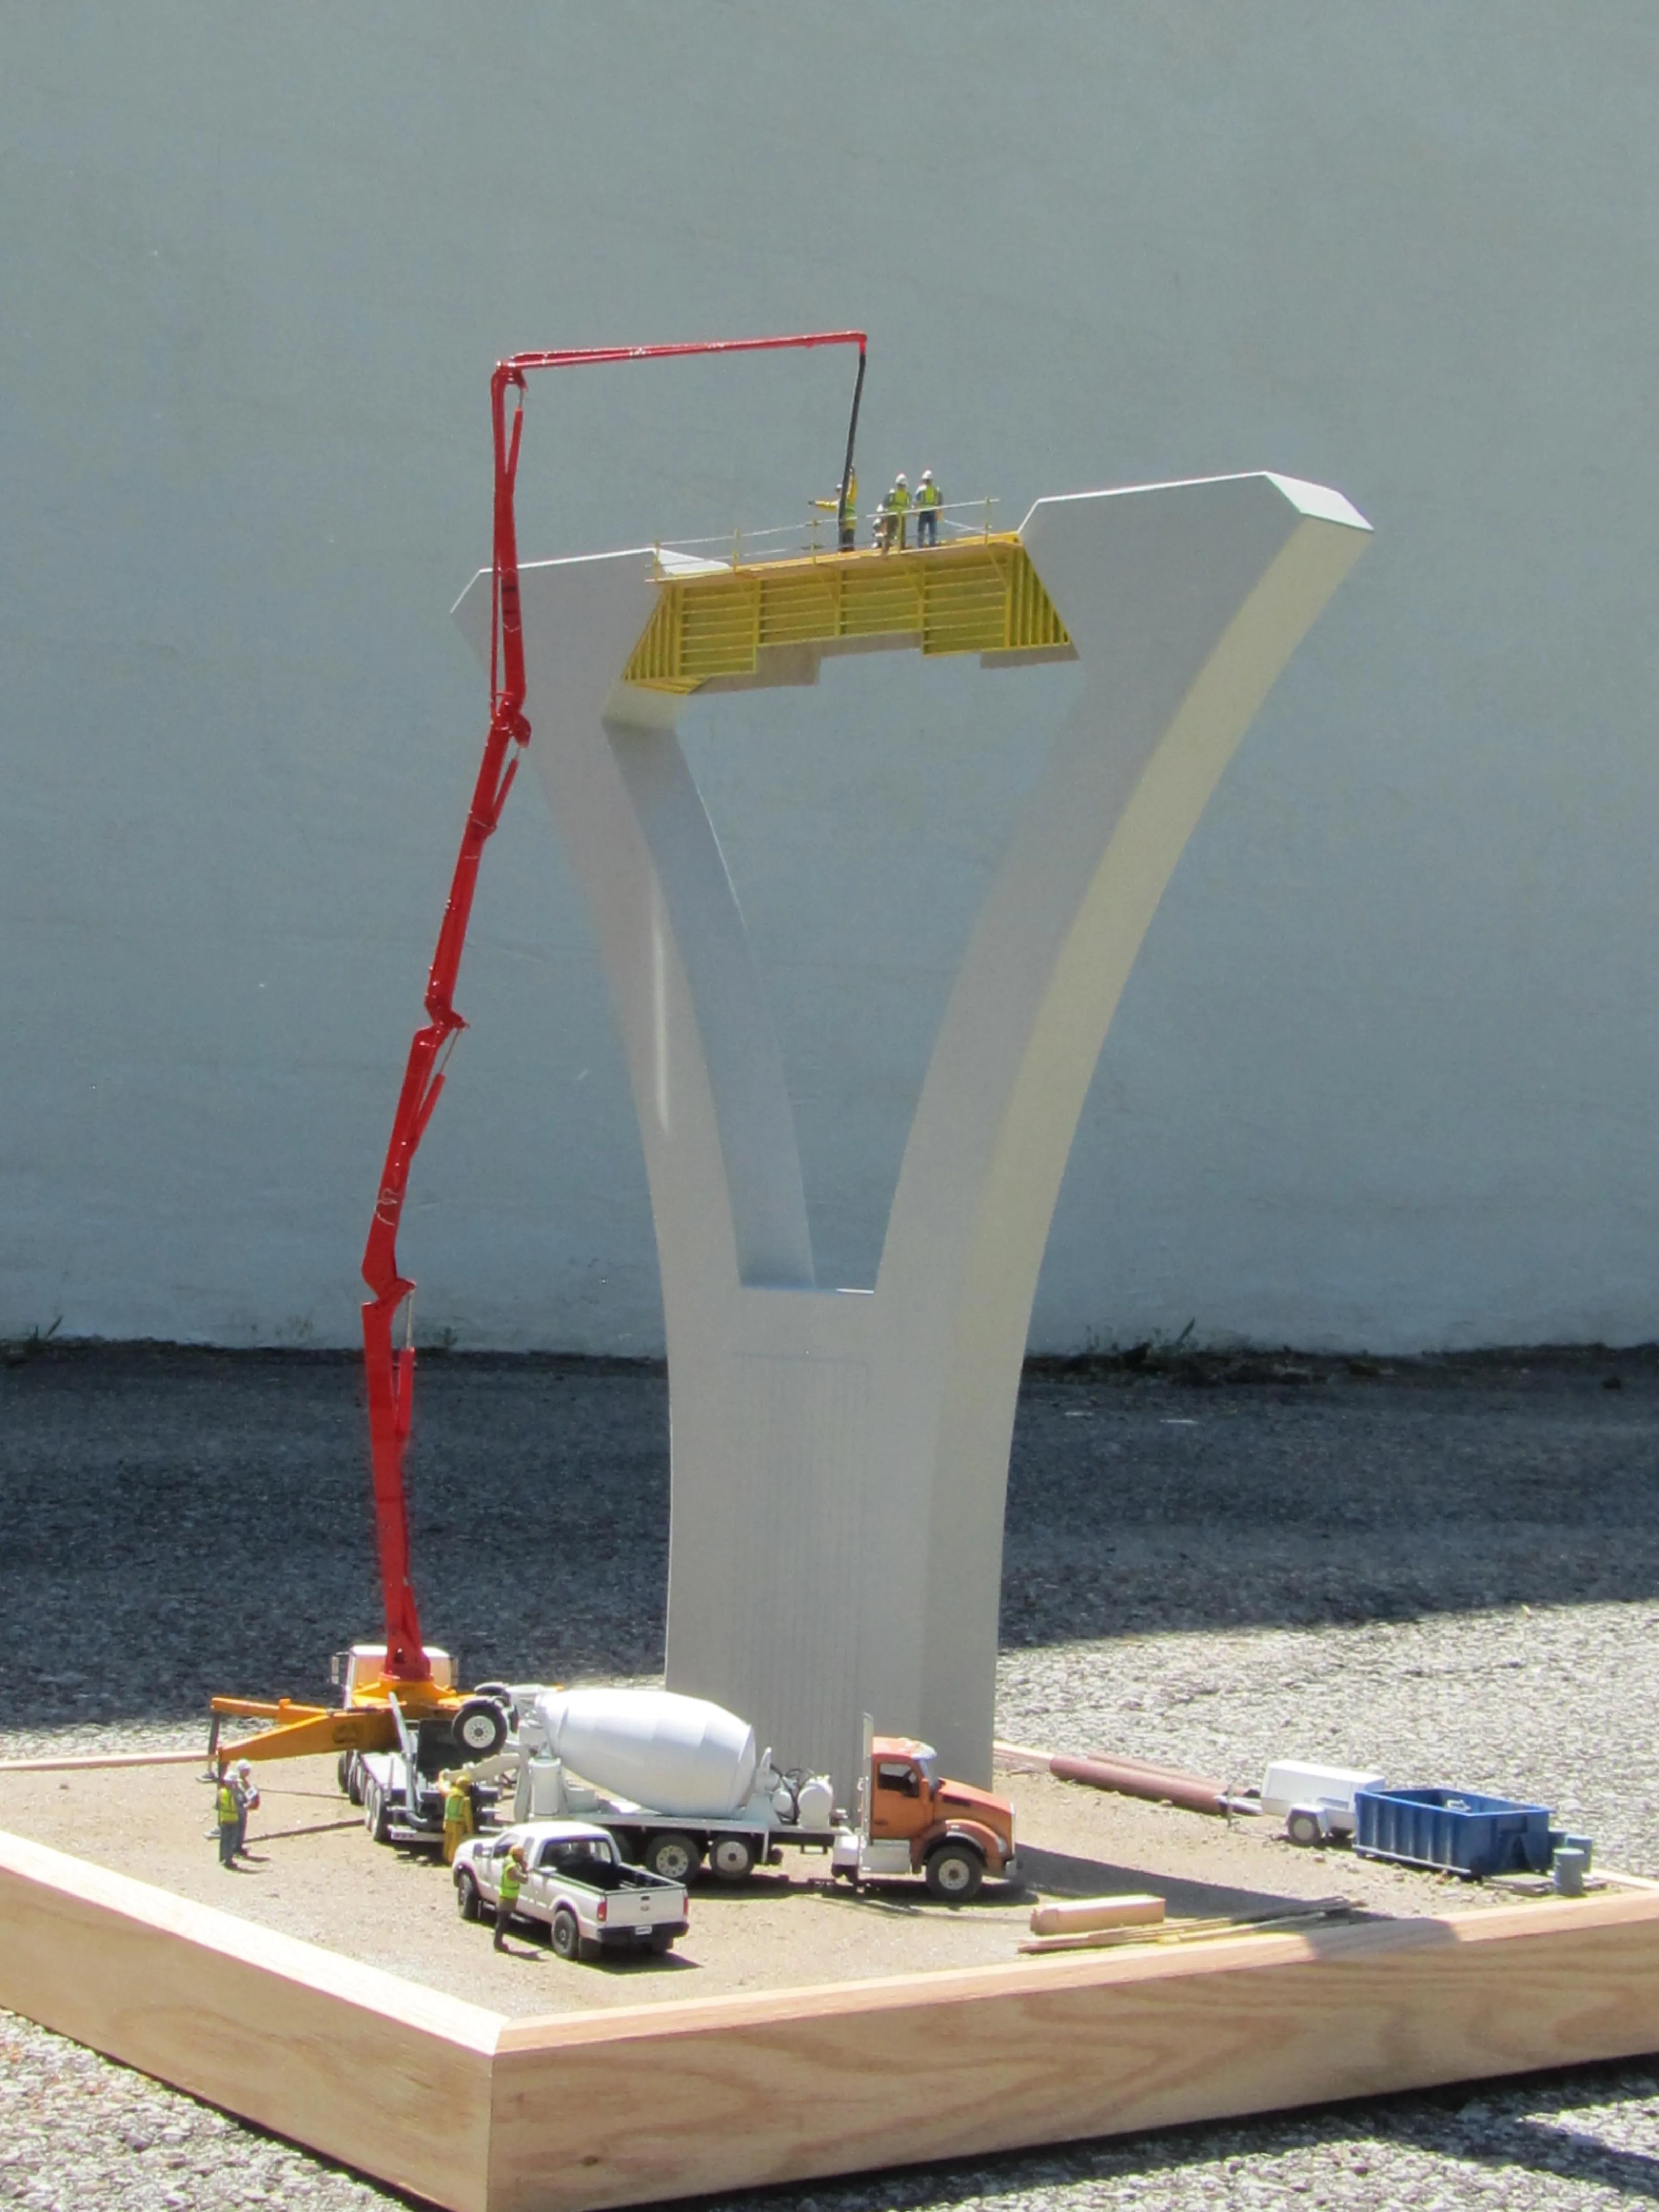
Before you can add any scenery, you need to prepare the base itself. This involves ensuring the base material is clean, flat, and free of any imperfections. If you are using plywood or MDF, you may need to sand the surface to remove any rough spots. If your base is made of foam board, you may need to apply a coat of primer to seal the surface and prevent the paint from soaking in. Consider adding a border around the base to give it a finished look and prevent materials from spilling over the edges. The key is to create a smooth, even surface that will allow the ground cover and other scenery elements to adhere properly. Good base preparation is critical for the overall quality and longevity of your diorama.
Adding Textures and Ground Cover
Once your base is prepared, it’s time to add textures and ground cover to simulate the terrain. This can be achieved using a variety of materials, such as sand, gravel, static grass, and ballast. Apply a layer of glue or adhesive to the base and then sprinkle the ground cover over the surface. Gently tap the base to help the material settle and adhere to the glue. For varied textures, experiment with different grades of sand and gravel. Use static grass applicators to create realistic patches of grass, and ballast to represent roads or railway tracks. Think about the environment you are trying to recreate and choose materials that accurately represent that environment. Blending different materials and textures will add depth and realism to your diorama, making it more engaging and visually interesting.
Building Realistic Scenery Elements
Building realistic scenery elements is a crucial step in bringing your diecast construction diorama to life. This involves constructing buildings, adding vegetation, and incorporating other details that create a sense of place and time. The details you add can make or break the realism of your scene. Spend time researching the specific types of scenery elements you want to include and gather reference images to guide your construction process. The more detail you add, the more immersive your diorama will become. Remember, the goal is to create a scene that is believable and visually appealing, and realistic scenery elements are essential for achieving that goal.
Constructing Buildings and Structures
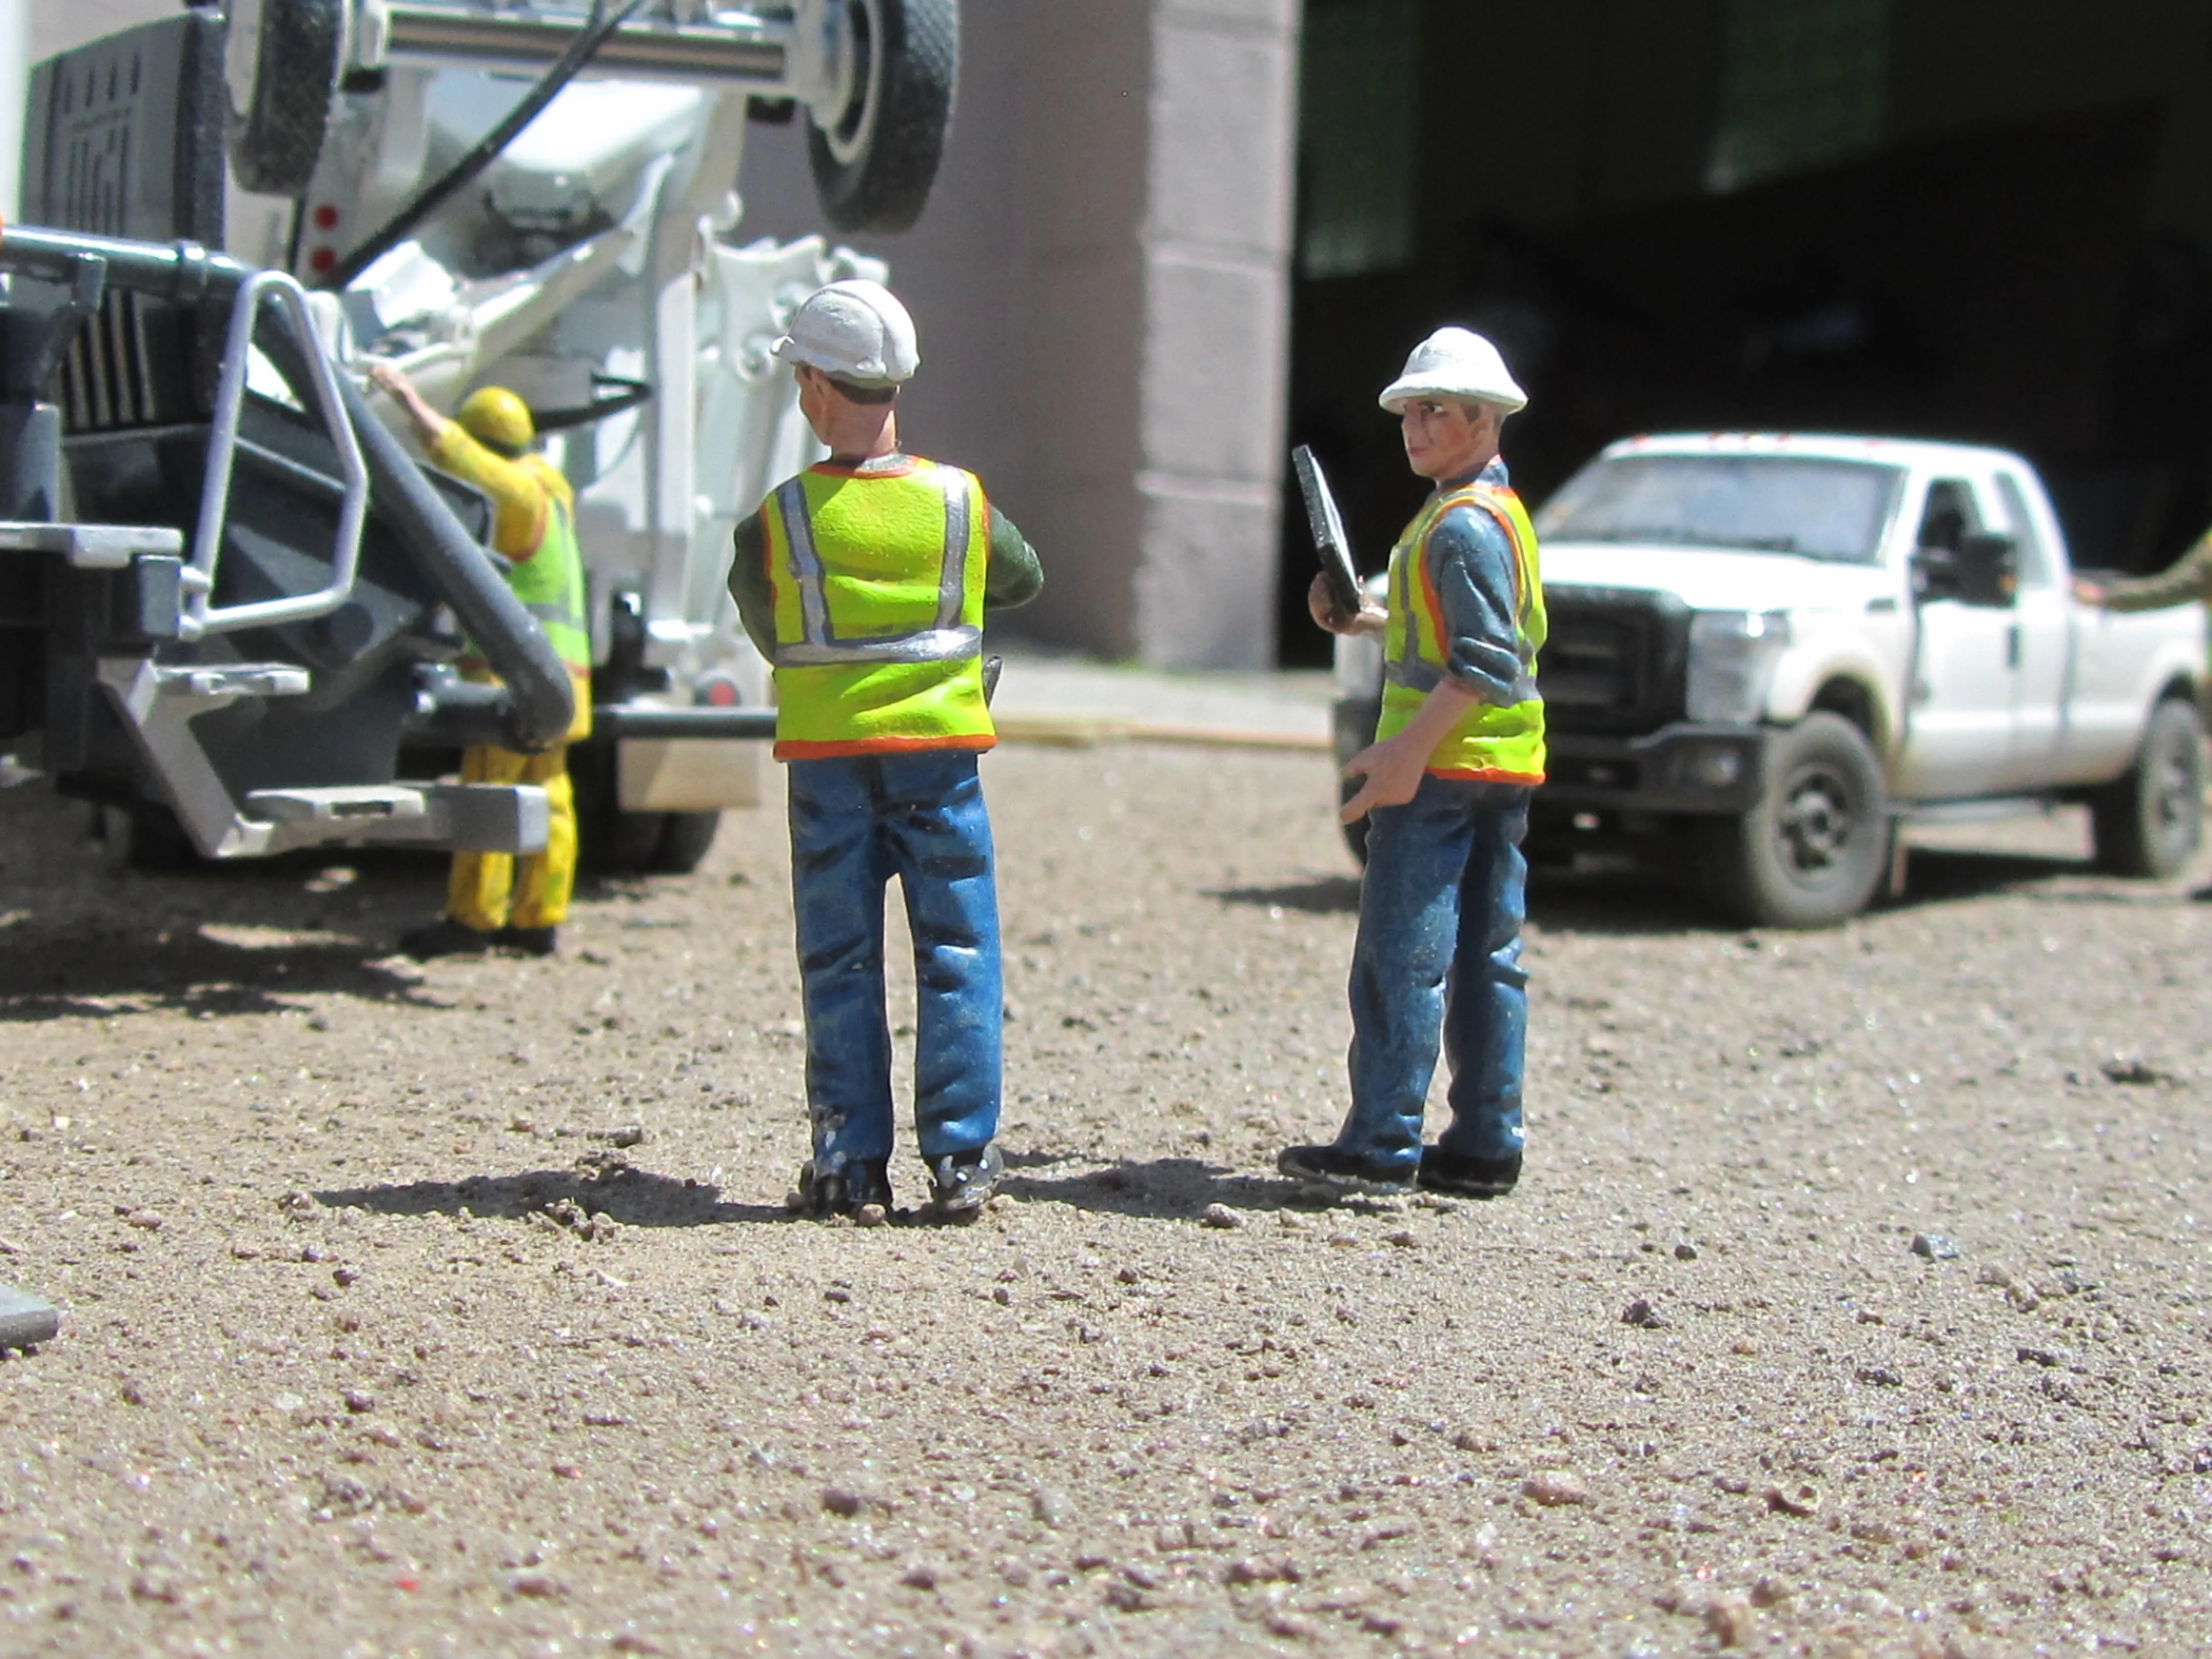
Buildings and structures are often the focal point of a diecast diorama, providing context and scale. You can construct them from scratch using materials like cardboard, foamcore, or styrene sheets. Alternatively, you can use pre-fabricated kits or modify existing structures to fit your scene. Pay close attention to details such as doors, windows, and architectural features. Consider adding weathering effects to give your buildings a more realistic, aged appearance. When constructing buildings, accuracy is crucial. Ensure your structures are proportional to the scale of your vehicles and figures. The more detail you add, the more realistic your structures will appear. Ensure that the style of the buildings matches the overall theme of your diorama, creating a cohesive and visually appealing scene.
Adding Vegetation and Foliage
Vegetation and foliage add life and realism to any diorama. Use model trees, bushes, and foliage to simulate a variety of environments, from forests to suburban landscapes. Consider the types of trees and plants that are native to the area you are depicting. Experiment with different types of foliage, such as static grass, flocking, and leaf litter, to add texture and variety. When placing vegetation, consider the overall composition of your scene. Arrange the trees and bushes in a way that is both visually appealing and realistic. Don’t be afraid to experiment with different techniques, such as dry brushing and washes, to create realistic shadows and highlights. The more varied your vegetation, the more lively and engaging your diorama will appear.
Painting and Weathering Techniques
Painting and weathering are essential for adding realism and character to your diecast construction diorama. These techniques can transform a collection of pristine models and materials into a scene that looks lived-in and authentic. The process involves applying color, creating shadows and highlights, and simulating the effects of aging, wear and tear, and exposure to the elements. These finishing touches can significantly elevate the realism of your diorama, transforming a collection of models and materials into a captivating scene. With the right techniques, you can add depth, texture, and a sense of history to your diorama. The more time and effort you invest in painting and weathering, the more rewarding the finished product will be.
Color Theory and Application
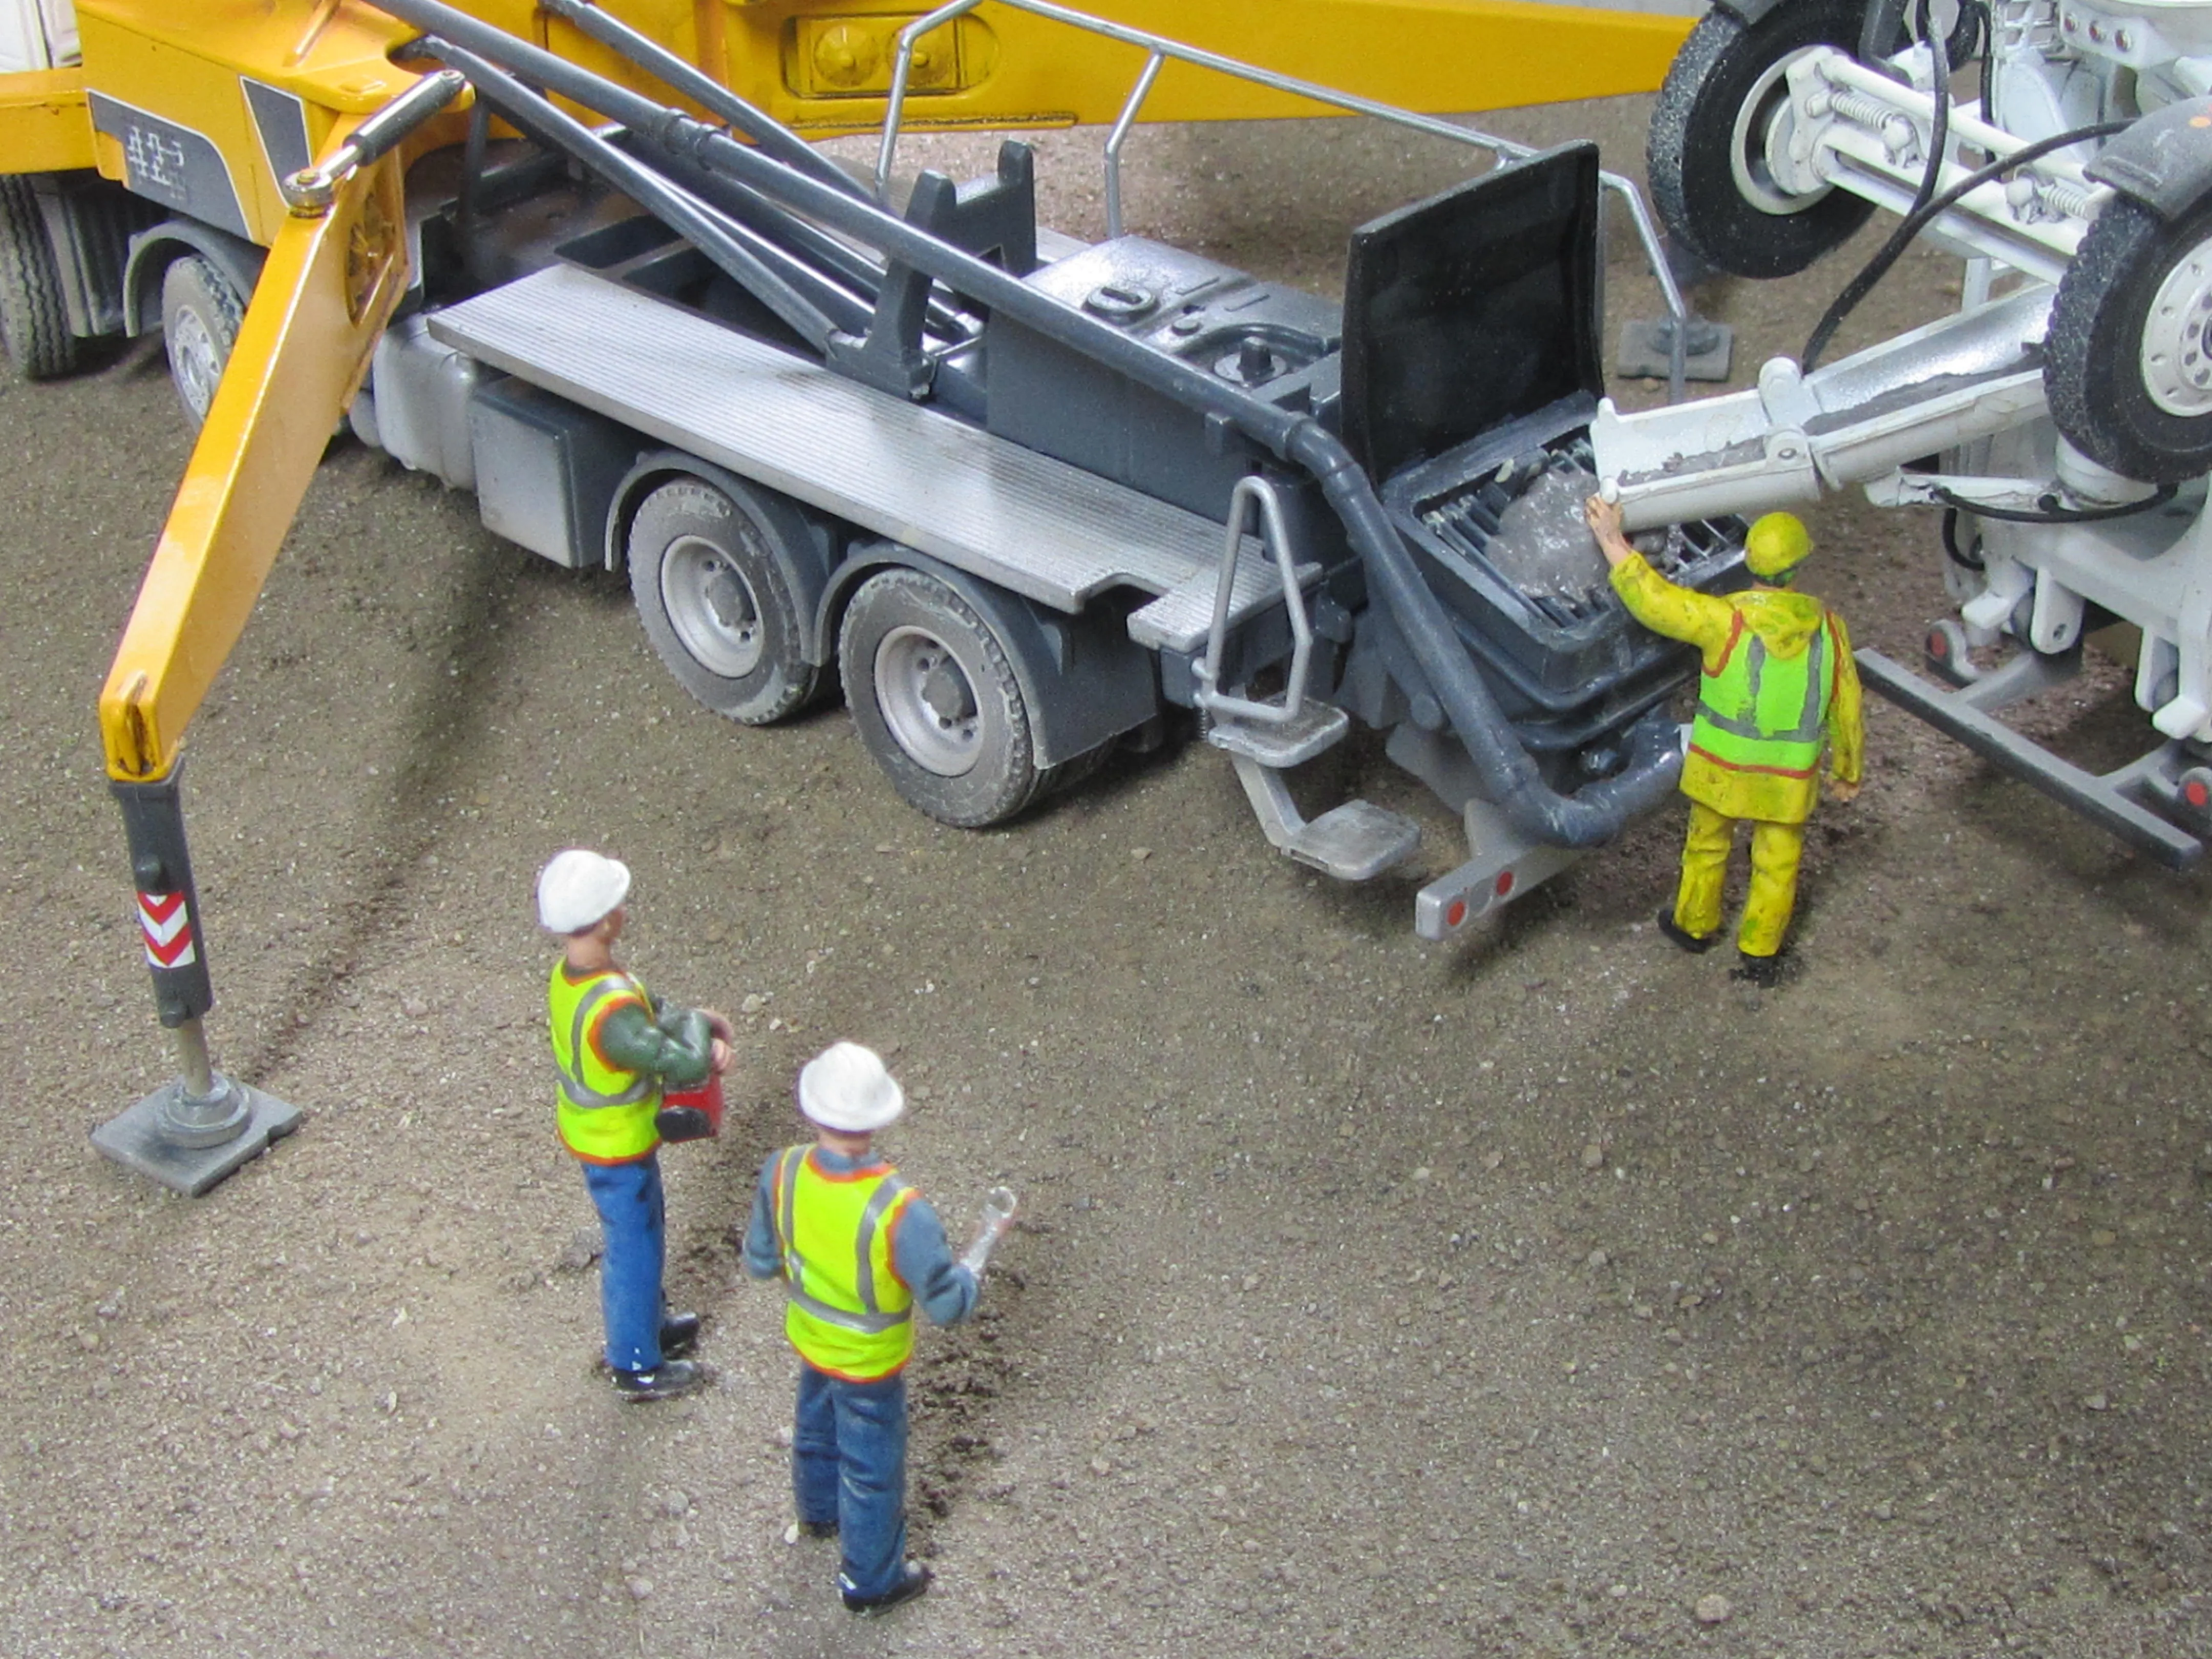
Understanding color theory is essential for achieving a realistic and visually appealing result. Consider the colors of the vehicles, buildings, and scenery elements in your diorama and choose colors that complement each other. Use a variety of shades and tones to add depth and interest. When applying paint, use thin coats to prevent the details from being obscured. Experiment with different techniques, such as dry brushing, washes, and highlighting, to create shadows and highlights. Research the specific colors appropriate for your chosen subject matter, as this will add authenticity. Don’t be afraid to experiment with different color combinations and techniques to achieve the desired effect. Learning to apply color effectively is a crucial skill for any diorama builder and can greatly enhance the realism and visual appeal of your finished project.
Weathering for Realism
Weathering is the art of simulating the effects of aging, wear and tear, and exposure to the elements. This can be achieved using a variety of techniques and materials, such as weathering powders, washes, and dry brushing. Apply weathering powders to create a dusty or rusty appearance. Use washes to add depth to the details and simulate shadows. Dry brushing can be used to highlight raised areas and create a worn effect. The key is to apply these techniques sparingly and gradually, building up the effect over time. Research the types of weathering effects that are appropriate for your scene and apply them accordingly. The goal is to make your models and scenery elements appear as if they have been exposed to the elements for an extended period. Weathering is the final touch that can make your diorama truly come alive, adding depth, realism, and a sense of history to your scene.
Building a diecast construction diorama is a rewarding hobby that combines creativity, craftsmanship, and attention to detail. By following these tips, you can create stunning miniature scenes that capture the imagination and showcase your passion for model building. From choosing the right scale to mastering painting and weathering techniques, each step contributes to the final result. With patience, practice, and a little bit of creativity, you can create dioramas that are both visually appealing and historically accurate. Embrace the process, experiment with different techniques, and most importantly, have fun.
