What is a Garage Worx Diecast Model Kit?
A Garage Worx diecast model kit is a miniature replica of a real-life vehicle, meticulously crafted from diecast metal parts and other materials. These kits allow hobbyists to assemble highly detailed models, offering a rewarding experience for enthusiasts of all ages. Unlike pre-assembled models, Garage Worx kits provide the hands-on opportunity to build a model from scratch, fostering a deeper appreciation for the craftsmanship involved. The appeal lies in the intricate designs, realistic features, and the satisfaction of creating a tangible piece of art. Building a Garage Worx model kit is more than just a hobby it is a journey into the world of automotive engineering and design.
Understanding the Different Scales
Garage Worx model kits, like other diecast models, come in various scales, with the most common being 1:18, 1:24, and 1:43. The scale refers to the ratio between the model’s size and the actual vehicle’s size. For example, a 1:18 scale model is 1/18th the size of the real car. Each scale offers a different level of detail and size, influencing the overall complexity and display options. Larger scales, such as 1:18, tend to have more intricate details and are often favored by collectors who enjoy close-up examination. Smaller scales, like 1:43, are more compact, making them ideal for displaying a wider collection without requiring much space. Choosing the right scale depends on personal preferences, the desired level of detail, and the available display area. Exploring different scales can also diversify a collection and introduce enthusiasts to various vehicle designs.
The Benefits of Building Garage Worx Kits

Building Garage Worx model kits offers a multitude of benefits beyond simply creating a miniature vehicle. It is an engaging activity that enhances fine motor skills and hand-eye coordination, especially beneficial for younger builders. The process involves following instructions, which improves reading comprehension and problem-solving abilities. It also fosters patience and attention to detail, as each step requires careful execution. Furthermore, assembling a model kit is a relaxing and meditative hobby, providing a welcome escape from the stresses of daily life. The sense of accomplishment upon completing a model is immensely rewarding, building self-esteem and a sense of pride. Building model kits can also connect hobbyists with others who share their interests, as communities and online forums offer opportunities to exchange tips, showcase builds, and learn from each other. Ultimately, the benefits extend far beyond the finished model.
Gathering Your Garage Worx Model Kit Supplies
Before starting your Garage Worx model kit, it’s essential to gather the necessary supplies. You’ll need the model kit itself, which contains the various parts, instructions, and decals. Also, you’ll want a suitable glue specifically designed for plastic model kits, such as plastic cement or super glue. Paint may be required to match the vehicle’s colors, and a selection of brushes, including fine-tipped brushes, is crucial for applying paint accurately. A cutting mat will protect your workspace and provide a stable surface for assembly. Additionally, you’ll need a hobby knife or sprue cutters to remove parts from the sprues, the plastic frames holding the parts. Tweezers are also very helpful for handling small parts and decals. Having these supplies ready ensures a smoother and more enjoyable building experience. Be prepared to start your build, and always take your time.
Essential Tools for Assembly
Certain tools are essential for assembling Garage Worx model kits. A sharp hobby knife or sprue cutters are indispensable for removing parts from the plastic frames (sprues) without damaging them. Fine-tipped tweezers are necessary for handling tiny parts, placing decals, and applying glue in precise locations. A set of small files or sanding sticks is useful for cleaning up any imperfections, such as mold lines or burrs, on the parts. Paintbrushes, including fine-tipped ones, are essential for applying paint accurately, and a palette or mixing tray helps to create custom colors. A cutting mat protects your work surface and provides a stable base for cutting and assembly. Additionally, a small magnifying glass can be incredibly helpful for seeing the intricate details and ensuring accuracy, especially with smaller scale models. Investing in quality tools will improve your overall building experience and result in a more professional-looking model.
Preparing Your Workspace

Setting up a well-organized workspace is crucial for a successful Garage Worx model kit build. Choose a well-lit area with ample space to spread out the kit components, tools, and paints. Protect your work surface by using a cutting mat to prevent scratches and damage. Organize your tools and supplies in a way that is easily accessible and allows you to work efficiently. Good lighting is essential for seeing fine details, so consider using a desk lamp or positioning your workspace near a window. Keep a container handy to collect any small parts or sprue pieces to avoid losing them. Have a small container for water and a cloth for cleaning brushes. A clean and organized workspace will minimize distractions and make the building process more enjoyable and productive. It will also make it easier to locate parts and keep your project tidy.
Step-by-Step Garage Worx Model Kit Assembly
Preparing the Parts
Before you start assembling your Garage Worx model kit, carefully prepare the parts. Begin by removing the parts from the sprues using a hobby knife or sprue cutters, taking care to avoid any damage. Trim away any excess plastic (sprue nubs) with a sharp knife or file. Inspect each part for mold lines or imperfections and use a file or sanding stick to smooth them out. Wash the parts gently with warm, soapy water to remove any dust or oils that could interfere with paint adhesion or glue bonding, and let them dry thoroughly. Organize the parts by grouping them according to their use, such as body panels, chassis components, and interior details. This preparation phase is critical for achieving a high-quality finished model. Paying close attention to detail at this stage will save time and effort during the assembly process.
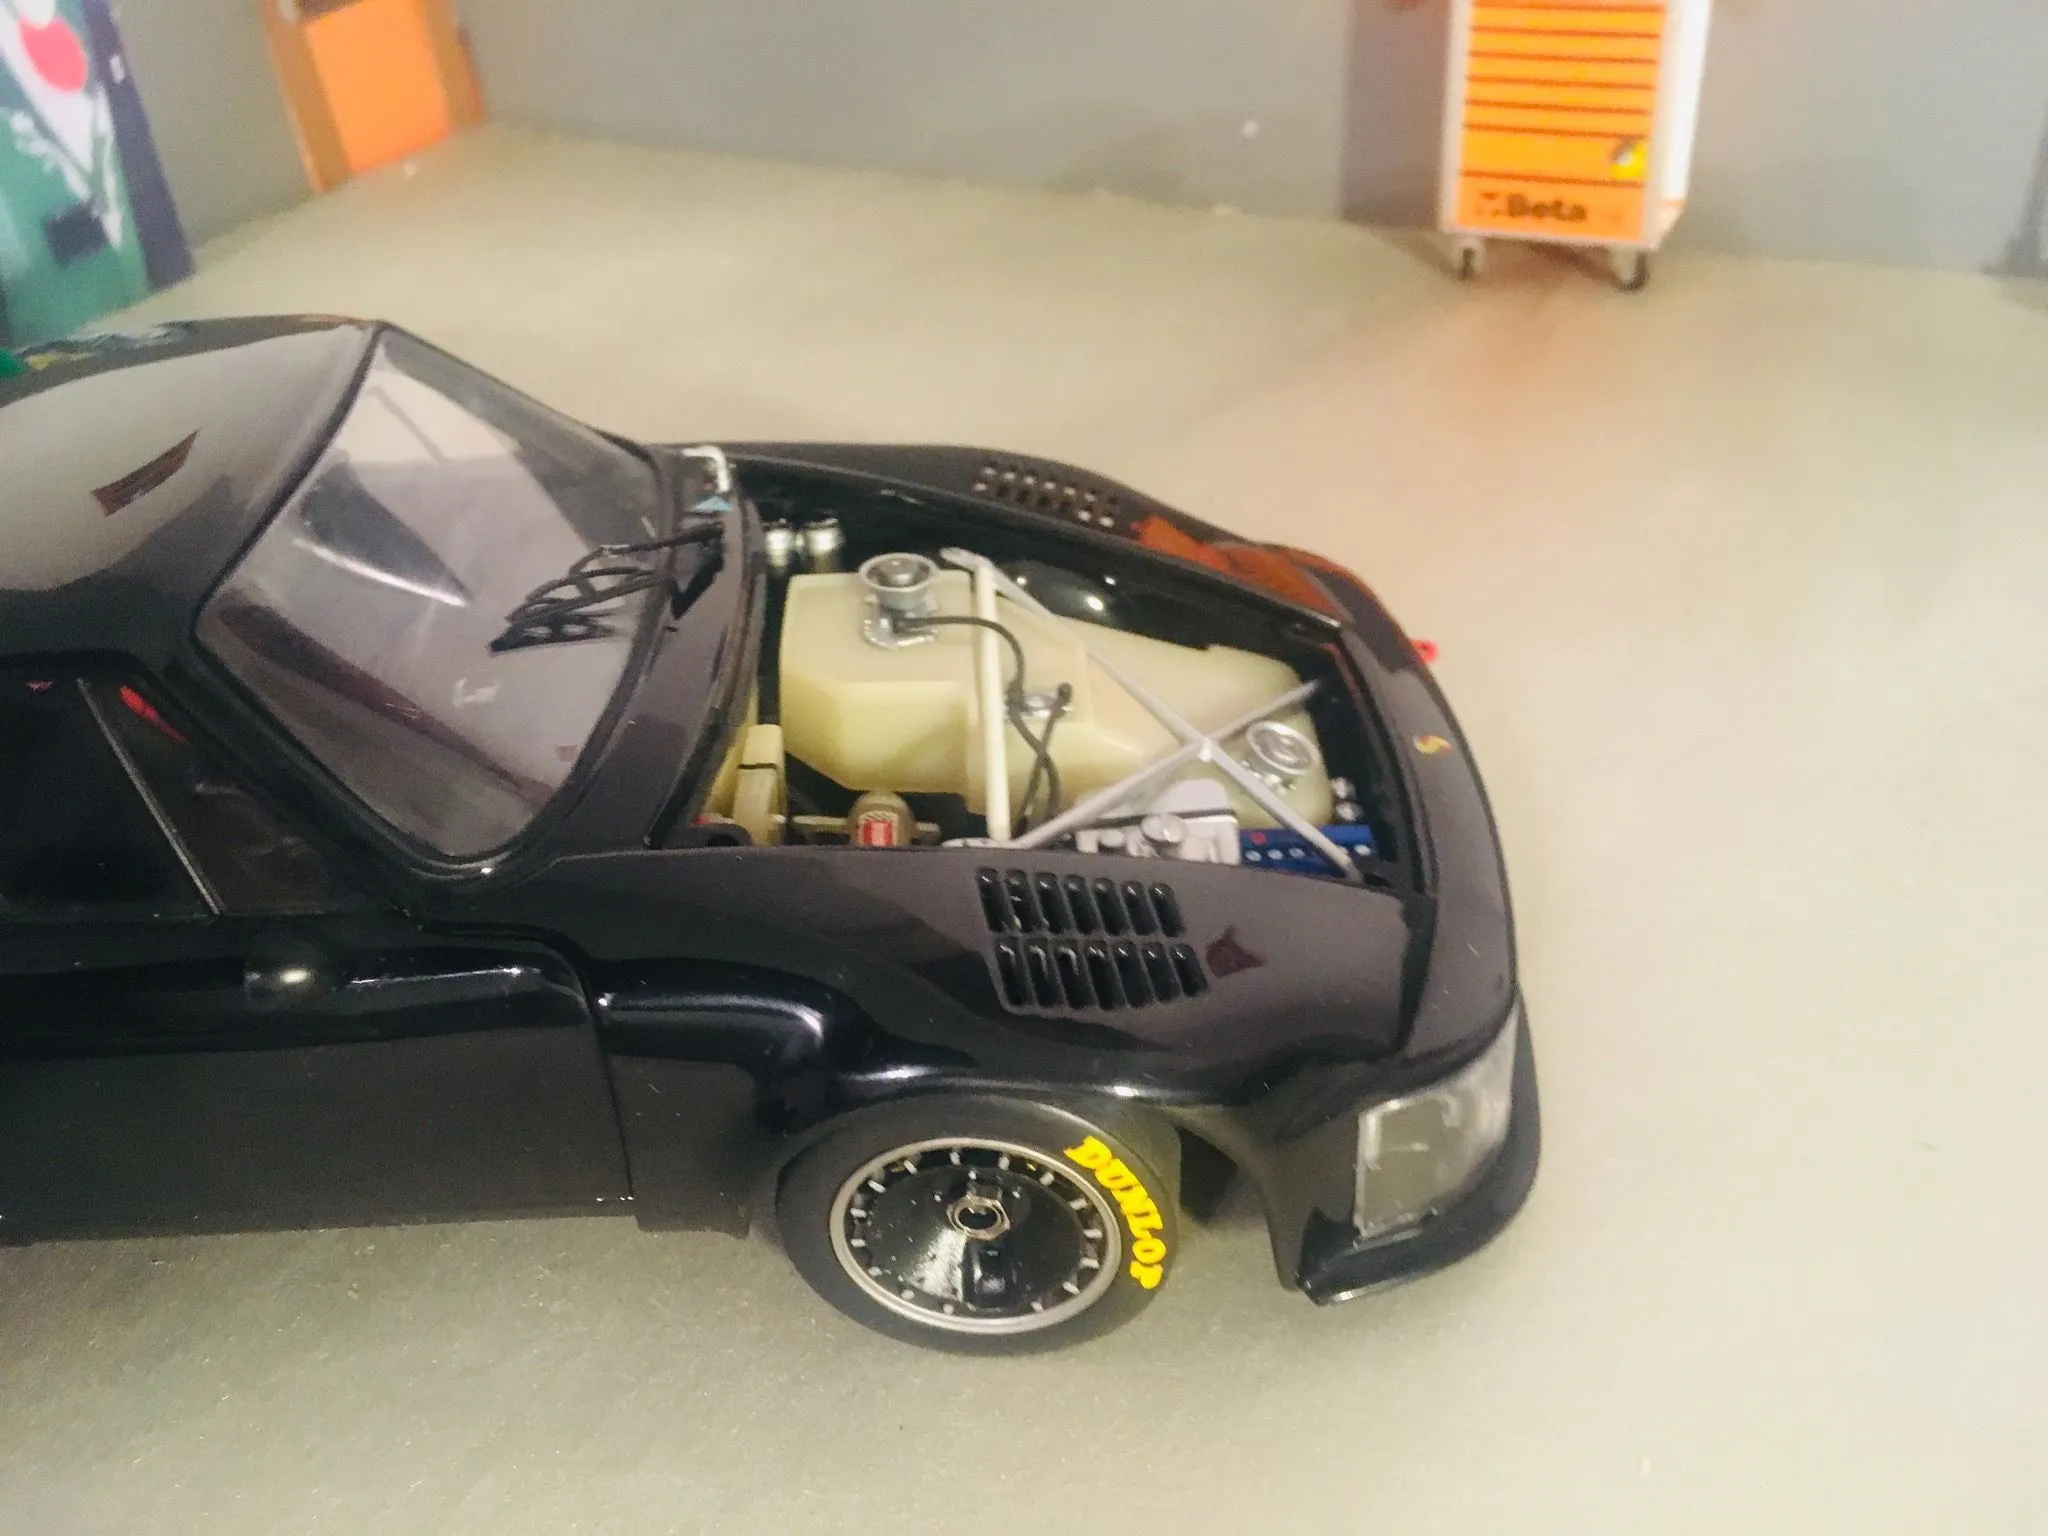
Assembling the Body and Chassis

Assembling the body and chassis is a core step in building your Garage Worx model kit. Refer to the instructions for the correct order of assembly. Begin by gluing the main body panels together, ensuring a tight fit and accurate alignment. Use plastic cement to bond the parts, allowing sufficient time for the glue to cure before moving on. Next, assemble the chassis components, which often include the engine, suspension, and exhaust systems. Carefully attach these parts to the chassis frame according to the instructions. Be patient, and take your time to ensure that all parts are properly aligned and securely attached. Test-fit parts before applying glue to ensure the correct fit. Once the body and chassis are assembled, check for any gaps or imperfections and fill them with putty or filler if needed. Sand the filled areas smooth once they are dry to create a flawless finish.
Attaching the Wheels and Tires
Attaching the wheels and tires is a crucial step in completing your Garage Worx model kit. The instructions will guide you on how to assemble the wheels, often including multiple parts like rims, hubs, and tires. Usually, the tires are made of rubber or vinyl and need to be carefully mounted onto the rims. Ensure a snug fit to avoid them coming off. Before attaching the wheels to the chassis, consider painting them if desired. Once the wheels are assembled, they can be attached to the chassis using the axles provided. Make sure the wheels rotate freely and are aligned properly. If the kit includes detailed brake components, carefully glue these into place. This step significantly contributes to the model’s realistic appearance. Double-check all connections to ensure the wheels are securely attached and rotate smoothly, adding to the overall quality of the model.
Applying Decals and Detailing
Adding decals and detailing elevates your Garage Worx model kit to the next level of realism. Decals often include manufacturer logos, stripes, and other markings that enhance the model’s appearance. Carefully cut out each decal from the sheet, then dip it in water for a few seconds to activate the adhesive. Position the decal accurately on the model’s surface, using tweezers or a damp cotton swab to adjust its placement. Once the decal is in place, gently blot away any excess water with a soft cloth. For a seamless look, consider using decal setting solutions to help the decals conform to the surface and remove any silvering (air bubbles). Detailing can also include painting small parts, such as lights, door handles, and trim pieces, with appropriate colors. This meticulous detailing brings the model to life, creating a convincing miniature replica of the real vehicle. Be patient and take your time; the details make a significant difference.
Common Mistakes and How to Avoid Them

There are a few common mistakes that model builders often make, and knowing how to avoid them can significantly improve your results. Rushing the assembly process is a major pitfall, so always take your time and follow the instructions carefully. Using too much glue can lead to messy seams and visible glue marks; use only a small amount of glue. Failing to prepare the parts properly, such as not removing mold lines or cleaning the parts, can negatively impact the model’s appearance. Applying paint too thickly or in unfavorable conditions (like high humidity) can cause runs or imperfections. Forgetting to test-fit parts before gluing them can result in misalignment and frustration. To avoid these mistakes, read the instructions thoroughly before starting, and practice on a small piece of plastic. Prepare your workspace, and use high-quality tools and materials. Always check your work, and if a mistake happens, don’t be afraid to start over or seek help from online forums or experienced modelers. Patience and practice will undoubtedly improve your skills.
Storing and Displaying Your Finished Model
Properly storing and displaying your finished Garage Worx model is essential to protect it and showcase your hard work. When storing your model, choose a location away from direct sunlight, extreme temperatures, and humidity, as these conditions can damage the model over time. Consider using a display case to protect your model from dust, debris, and accidental damage. You can find specialized display cases designed for model cars, or you can create your own. If you do not have a display case, a shelf in a room with stable environmental conditions is a good option. When displaying your model, consider the lighting, as appropriate lighting can enhance the model’s details and colors. Arranging your models with other related items, such as miniature figures or accessories, can create a more engaging and visually appealing display. Finally, regularly clean your model with a soft brush or cloth to remove any dust and maintain its pristine appearance. Enjoying your finished model is as important as building it.
Finding More Garage Worx Model Kits
Expanding your Garage Worx model kit collection is an exciting part of the hobby. There are several places to find more kits. Local hobby shops are an excellent source, offering a wide selection of models and often providing helpful advice from experienced modelers. Online retailers, such as Amazon and eBay, provide a vast selection of kits, often at competitive prices. Specialized model kit websites also offer an extensive range of Garage Worx kits and related accessories. Model kit conventions and swap meets are also a fantastic way to discover rare and discontinued kits, as well as connect with other enthusiasts. When searching for kits, keep an eye out for new releases and limited-edition models to add to your collection. Checking the availability of specific kits is also useful if you want to ensure you get exactly what you are looking for. Exploring the various sources will allow you to discover a wide range of Garage Worx model kits and add new and exciting models to your collection.
Where to Buy and Popular Models

Garage Worx model kits can be found at several locations, including local hobby stores, which often carry a selection of the most popular models and provide a personalized shopping experience. Major online retailers like Amazon and specialized model kit websites offer a wider variety of models, competitive pricing, and the convenience of online shopping. When selecting a Garage Worx model kit, consider the vehicle type, scale, and level of detail that appeals to you. Some popular models include classic muscle cars, iconic sports cars, and detailed trucks, all available in various scales. Researching reviews and ratings before making a purchase is helpful, ensuring you choose a kit with positive feedback and a satisfying building experience. Comparing prices across different retailers can also help you get the best value. With patience and research, you can find the perfect Garage Worx model kit to suit your interests and skill level. This will allow you to explore a wide range of models.